Come see us at AMW 2026 and experience Smart Factory solutions
Real machines. Real experts. Real answers. We’re at AMW 2026! Are you?
Log in to MyHeadland – your new customer portal | No access yet? Email marketing@headland.com.au
Whether you’re after a machine, spare part, power tool, or need to book a service call Headland will help you find the right solution in a timely manner.
Fill out the form below and the relevant expert will be in touch with you shortly.
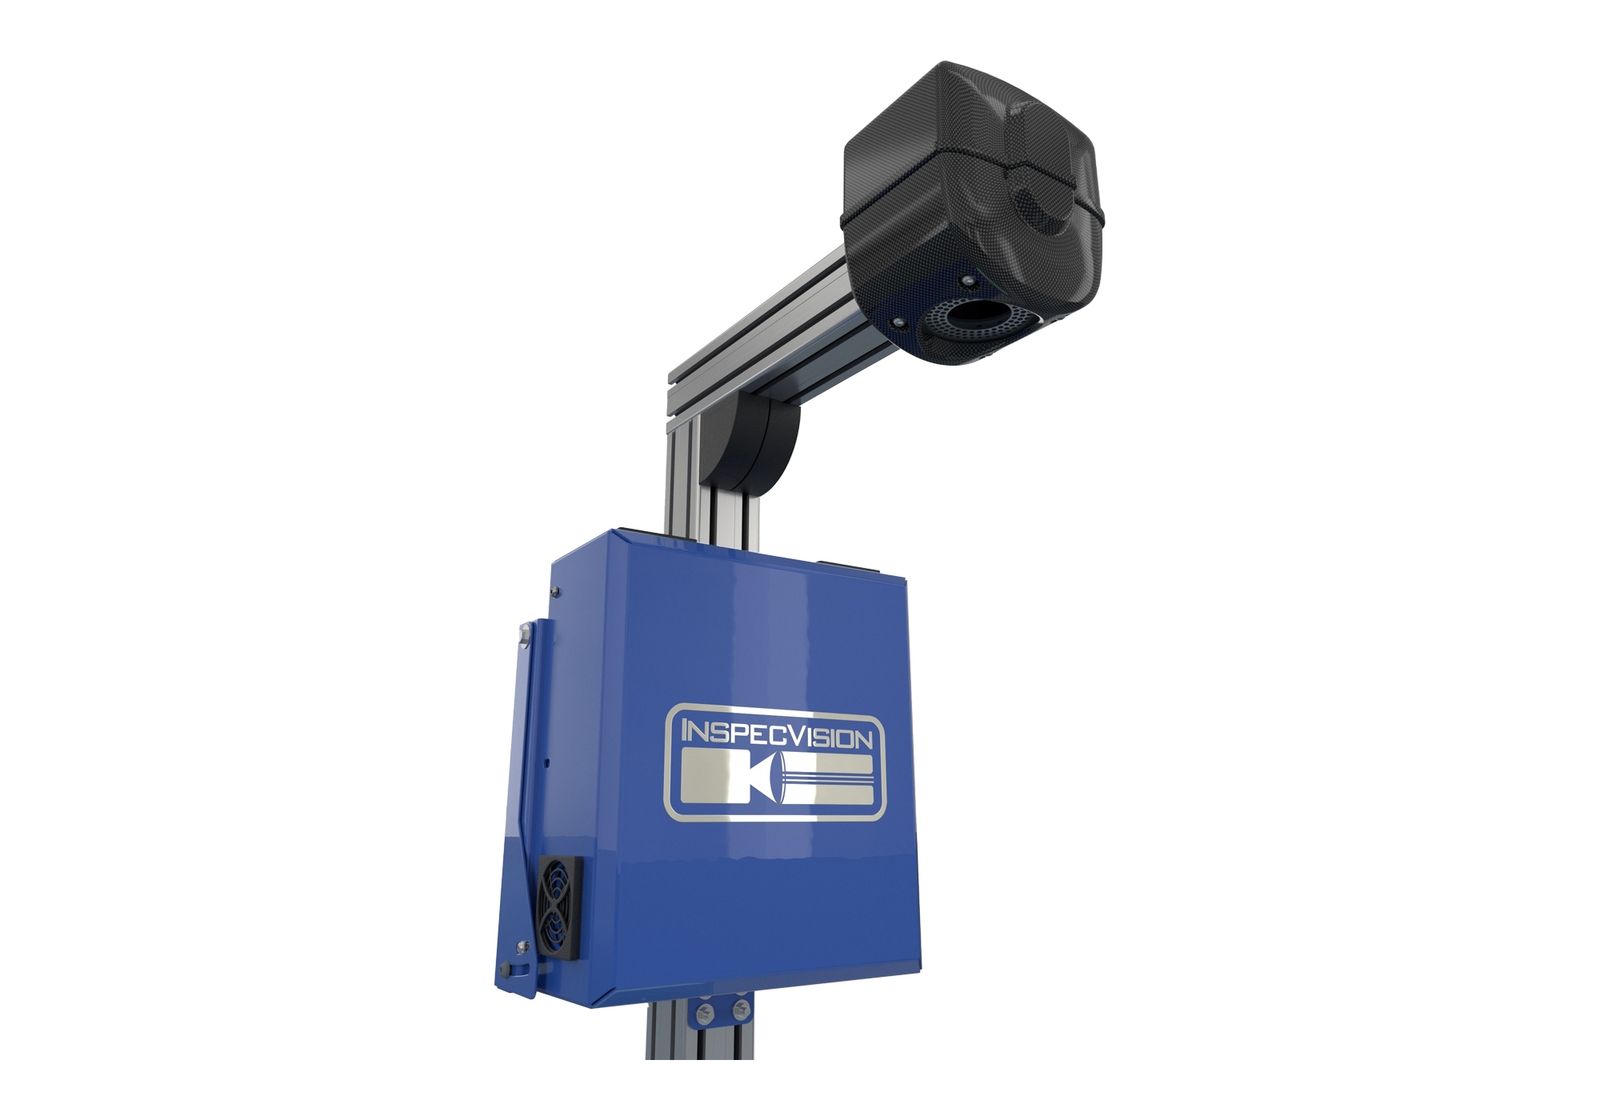
In this article, we delve into the world of automated part inspection for quality control and reverse engineering, introducing the remarkable capabilities of InspecVision’s technology. Trusted by industry leaders in sheet metal, defence, and aerospace, the InspecVision 2D & 3D measurement systems provide precise measurements for components, ensuring compliance with specifications and tolerances. Additionally, these systems facilitate reverse engineering by converting parts into CAD files.
InspecVision’s automated systems have become indispensable tools, catering to a diverse range of customers that span from sheet metal job shops to Original Equipment Manufacturers (OEMs) in industries like automotive and electronics. Additionally, they serve manufacturers producing diverse products like castings, gaskets, O-rings, electrical laminations, insulation materials and busbars. These versatile systems offer exceptional accuracy and efficiency, playing a crucial role in quality control while optimising a wide array of production processes.
Companies relying on manual inspection tools such as calipers and gauges encounter several challenges, including time consumption, labour intensiveness, and susceptibility to human error. The inspection of complex parts can take hours, rendering the process inefficient. Additionally, companies equipped with Coordinate Measuring Machines (CMMs) may face obstacles such as the need for skilled personnel to program the machines and extended inspection times. Customers demanding inspection and traceability reports necessitate a reliable and traceable inspection process. Moreover, companies seeking to automate their inspection process due to labour shortages or difficulty in finding skilled personnel can benefit from improved efficiency. Ultimately, enhancing the inspection process is crucial for preventing bottlenecks in quality control, a critical stage in the manufacturing process.
When contemplating the acquisition of an InspecVision inspection machine, three vital factors should be taken into account: table size, accuracy, and budget. As a sheet metal job shop, selecting a table size that accommodates at least 85% of your part sizes is essential. InspecVision offers a wide range of table sizes, ranging from 160mm to 6m wide. Accuracy is another crucial consideration, with InspecVision machines offering accuracies ranging from 6 microns to 100 microns. Striking a balance between table size and accuracy is important, as larger tables typically have lower accuracy. Lastly, budget plays a critical role, with InspecVision machines available at different price points, including affordable entry-level systems. It is imperative to carefully evaluate these factors and make an informed decision that will benefit your company in the long run.
Among InspecVision’s top-performing machines, the P150.35 and P70.20 stand out. The P150.35 boasts an impressive maximum component size of 1500mm x 1000mm and an accuracy of 35 microns. If you require a measurement system that is capable of handling both 2D and 3D parts, this particular model seamlessly integrates with the automated Opti-Scan 3D as well, providing a comprehensive solution. On the other hand, the P70.20 offers an excellent option for those with limited budgets or space constraints, featuring a maximum component size of 1000mm x 667mm and an accuracy of 20 microns. Despite its smaller footprint, this machine provides a good-sized table and accuracy, making it a popular choice among our customers.
Take advantage of the opportunity to revolutionise your quality control by leveraging InspecVision’s best-selling machines. Contact Headland Technology today to discover how InspecVision can help you eliminate bottlenecks at the end of your production process.
Whether you’re after a machine, spare part, power tool, or need to book a service call Headland will help you find the right solution in a timely manner.
Fill out the form below and the relevant expert will be in touch with you shortly.

